Christmas morning dawned bright and early for a sweet little girl who had asked Santa for a “dollhouse full of pretty things.” When she and her brothers ran gleefully downstairs, she discovered a dollhouse created just for her!
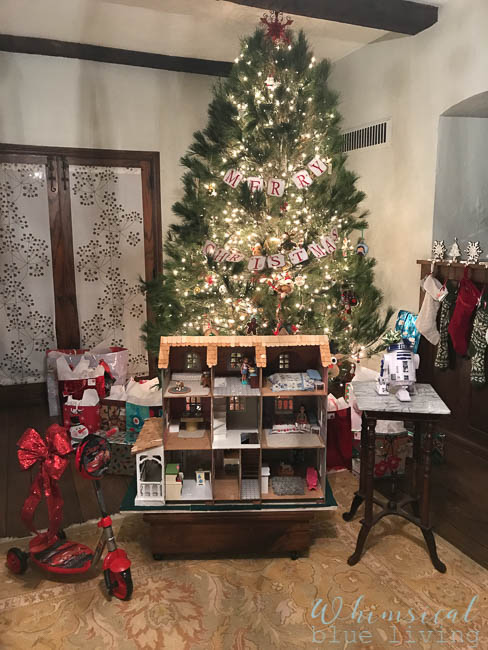 It was a Christmas miracle! Seriously, Mama Elf and Mama’s very crafty sister Auntie Elf (who was visiting for Christmas) worked until 5:45 AM Christmas morning creating all the “pretty things” for this house of dreams. And it was totally worth it!
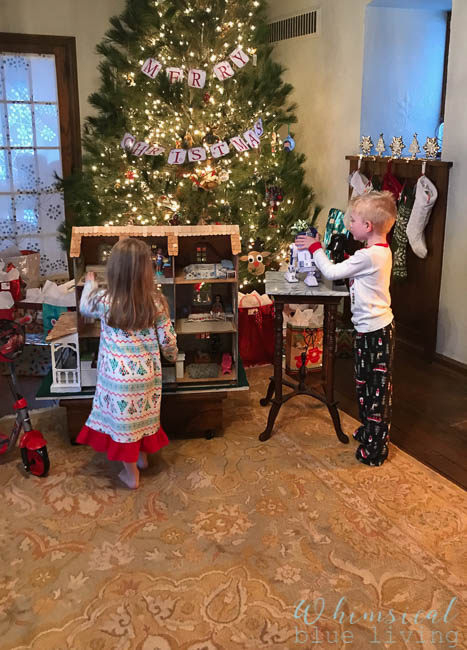 So, welcome to The Dollhouse!
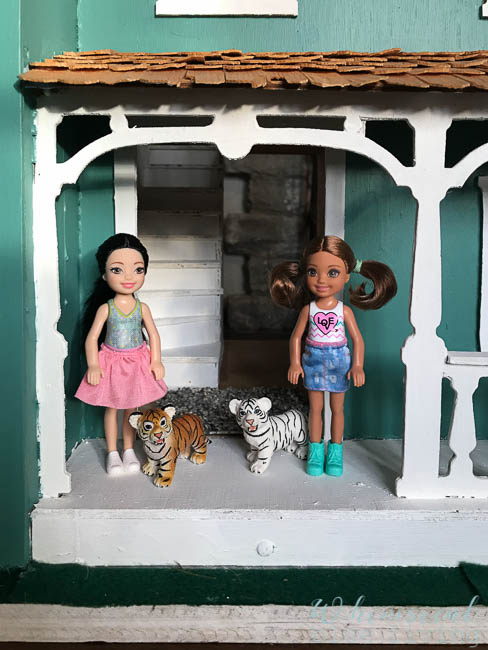
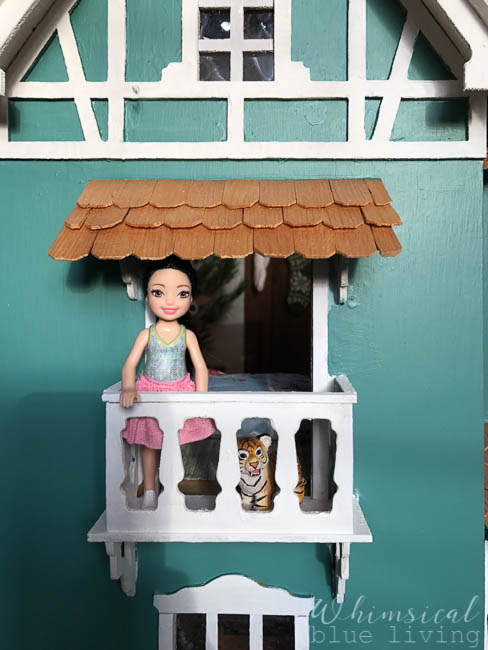
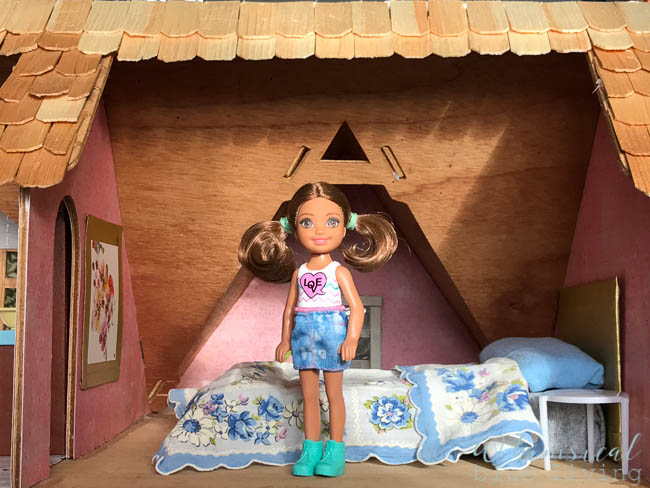
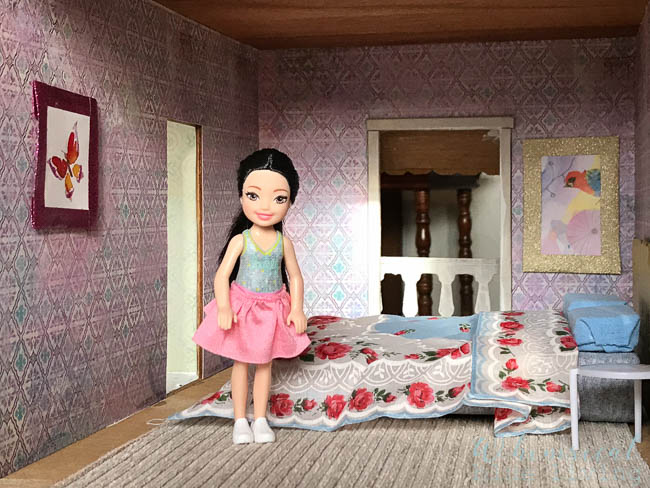
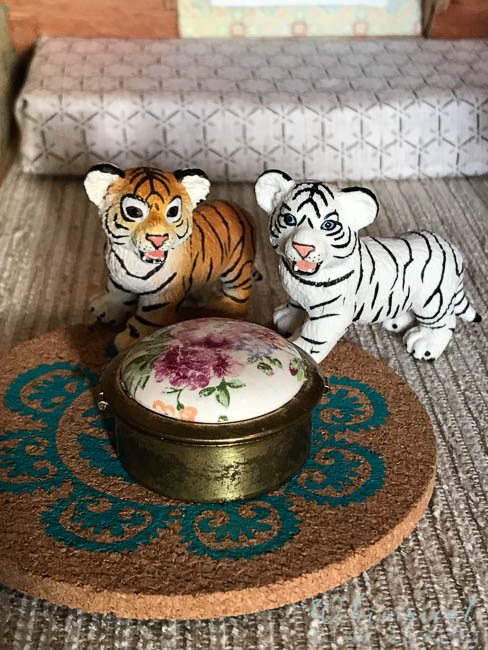
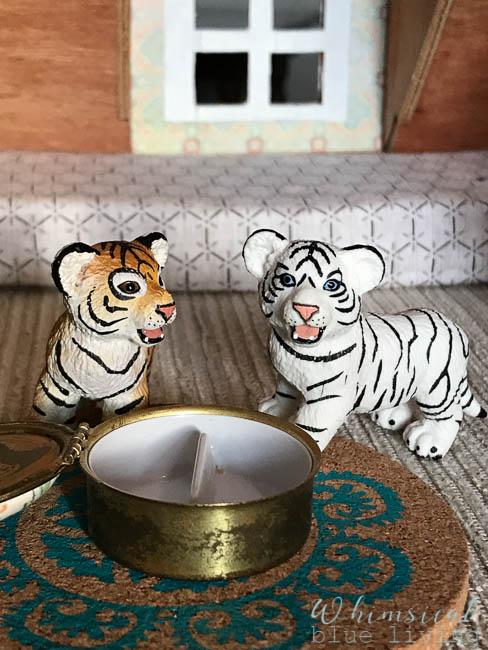
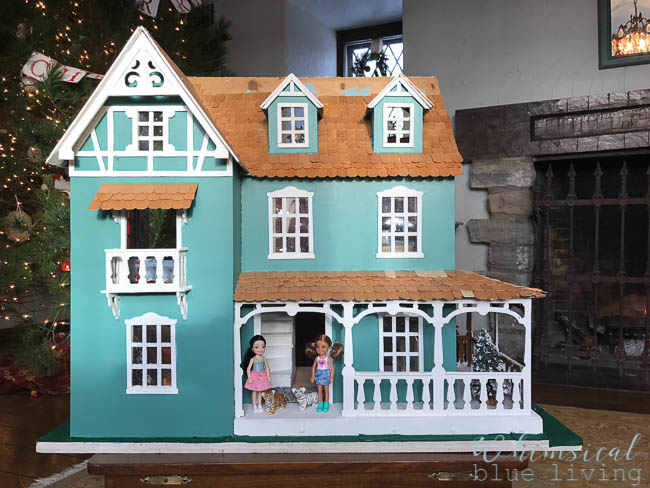 Our charming hosts Ella and Bella would love to show you around, along with their pet baby tigers Zella and Gella. Because what dollhouse would be complete without two baby tigers and names that all rhyme?
 Ella and Bella’s house was a bit of a fixer upper, if you remember. You can read all about it and see the “before” pictures here. I found it at a yard sale for the amazing price of two dollars and loved the process of fixing it up! As it turns out, fixing up a dollhouse is similar to fixing up our real house. It always takes much longer than planned, the majority of the budget has to go towards supplies like roof shingles and wallpaper, and all the pretty things are added by being creative and incorporating special family pieces.
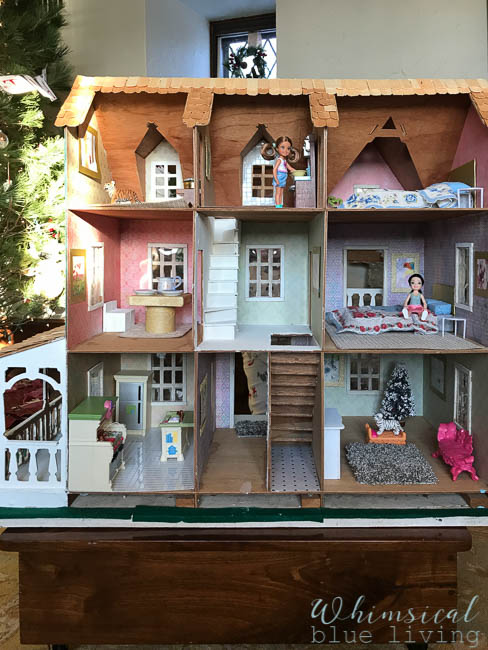 It’s amazing how paint can transform a home. The exterior of the dollhouse got a fresh coat of paint, as well as the interior stairs and hallway. Scrapbook paper in my daughter’s favorite colors and modpodge created beautiful patterned wallpaper. Just a piece of advice, if you ever fix up a dollhouse, it takes a tremendous amount of time to paint all the little details and measure around the windows and doors for wallpaper. Just plan on several all-night marathons. It kind of makes sense now why I spotted a brand new assembled but unpainted dollhouse at the craft store for the bargain price of $549.99. These things take a ton of work! But it was so much fun to create, and completely worth it on Christmas morning.
So, there Mama Elf and Auntie Elf were on Christmas Eve, working late into the night creating doll size furniture and decorations. Keeping in mind that this house will be played with by little ones, it didn’t make sense to invest a lot of money into traditional dollhouse furniture. So, with a little creativity, some darling furniture was made! Old DVD cases duct taped together and wrapped in cloth became a bed, pillows were stuffed with makeup sponges and cotton balls, and cardboard wrapped in washi tape became headboards. Little pizza box inserts became nightstands, and a kitchen table was created using an empty face lotion bottle for the base and a scrap of wood for the top, both which were covered in washi tape.
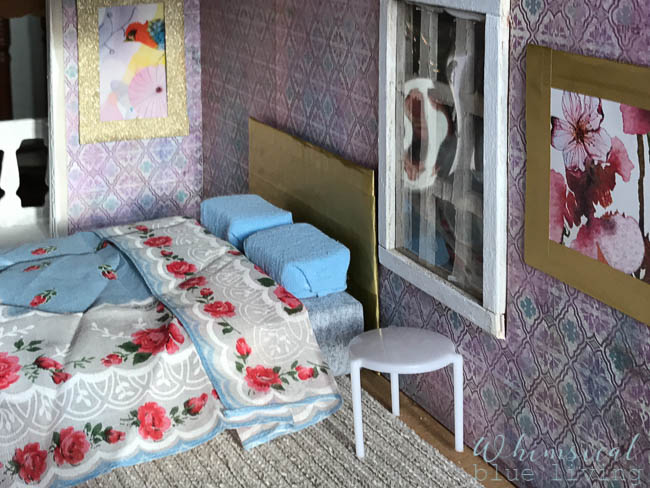
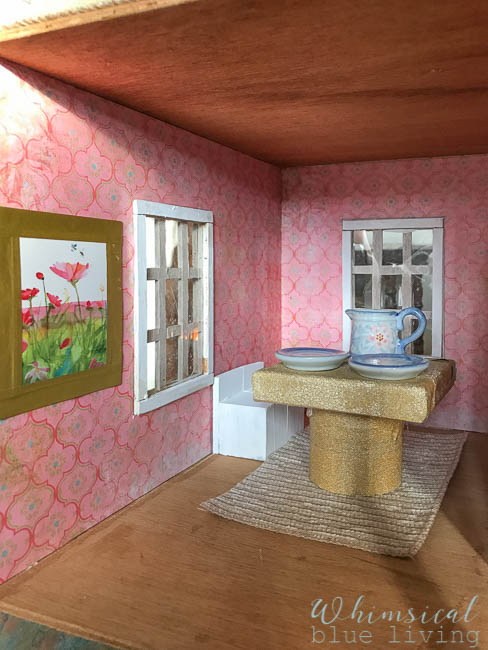
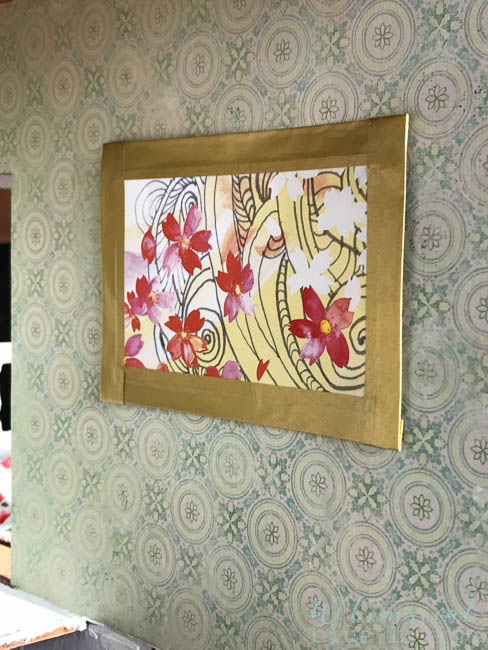
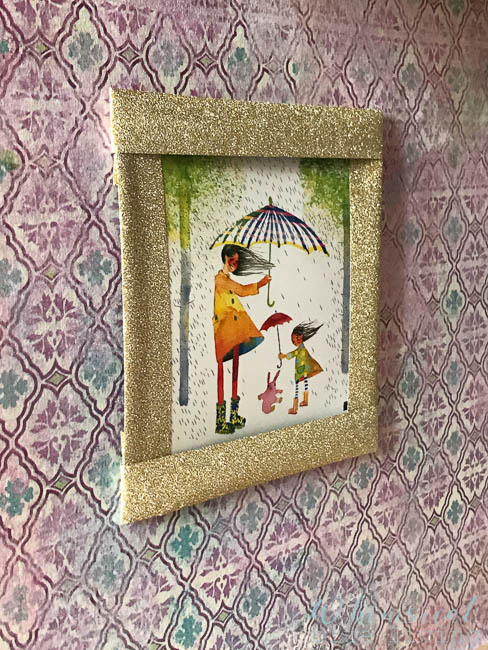
One of the prettiest details in the dollhouse are the pictures hanging on the walls. For several years I’ve been saving my old wall calendars by the artist Masha D’yans because I love the art in them, and I just knew they would be perfect for this project. A fun tip, most calendars have all the monthly pictures printed in tiny squares on the back page, and those were the perfect size to cut out and frame for the dollhouse! I pulled the old calendars out of my craft stash and we cut out our favorite images. Then my sister created frames for each picture using washi tape. The result is a whimsical and beautiful art collection that I wish was displayed in my own house! It’s also one of my daughter’s favorite features of her sweet little dollhouse.
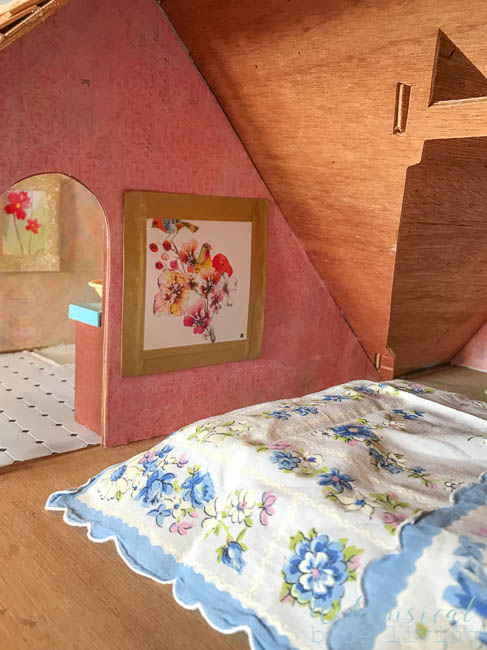
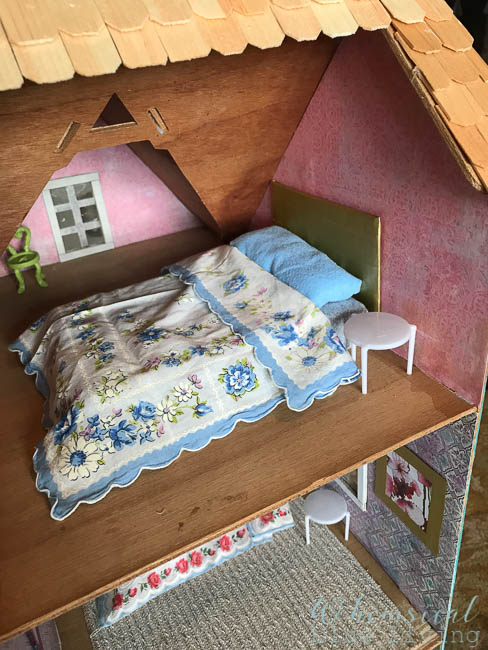
My absolute favorite details are the family pieces. Just like our real house, incorporating special vintage pieces from family members adds an extra layer of charm. The floral bedspreads are handkerchiefs that belonged to my husband’s grandmother. Aren’t they sweet?
The little round floral box is also from his grandmother, and it is divided in half on the inside. It makes a perfect food and water dish for the baby tigers!
The pretty little dishes on the dinning room table came from a miniature tea set that I found in my Grandma K’s attic. Isn’t it darling with the pink flowers? I just know she would have loved to have seen this dollhouse. She was always so creative and enjoyed collecting things.
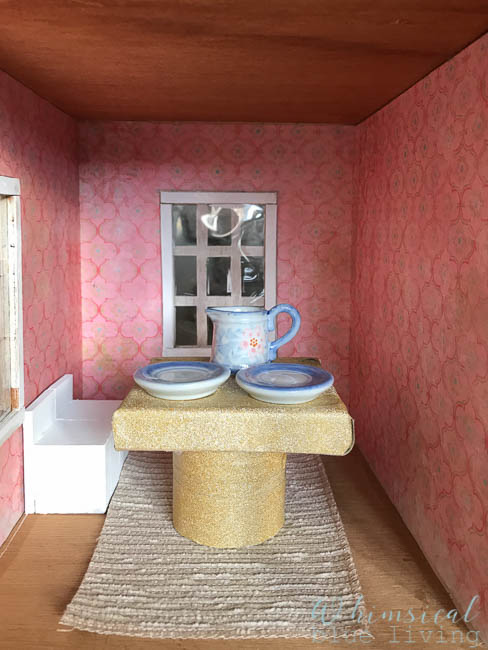
Creating this dollhouse truly was a group effort. My sweet neighbor showed me the amazing dollhouses she has created and shared her extra samples of upholstery fabric for us to use for the rugs. A co-worker donated carpet samples that we used for the front door mat and living room rug. My sister stayed up all night to help. And so many people encouraged me along the way when I felt like I would never finish in time. It was wonderful to know that everyone was excited about this project, and the thought of my daughter’s face on Christmas morning gave me the extra energy and motivation to keep working through those long nights!
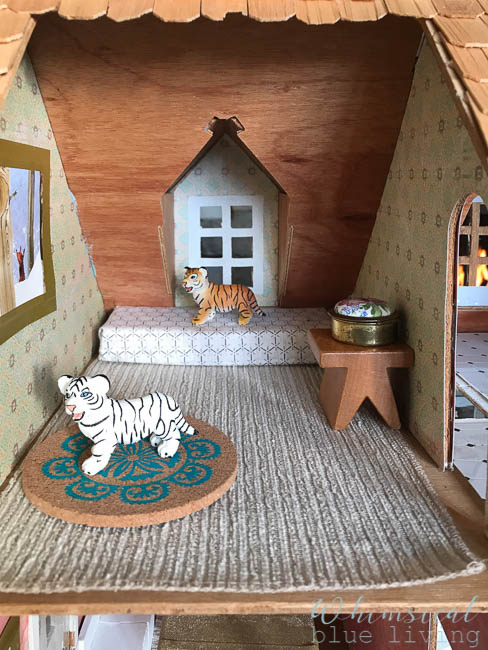
The baby tigers even have their own room!
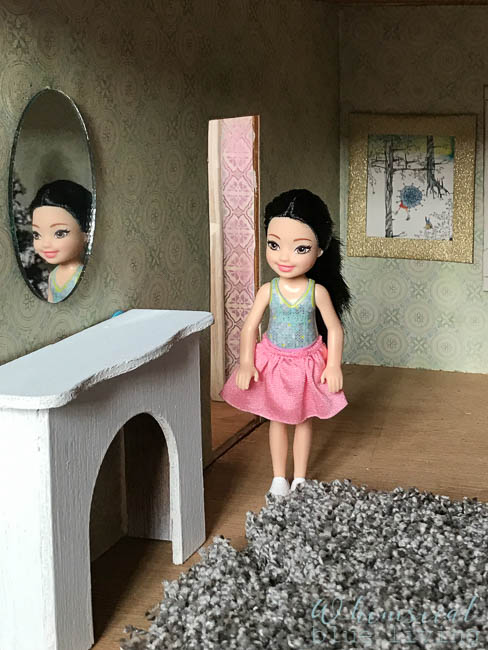
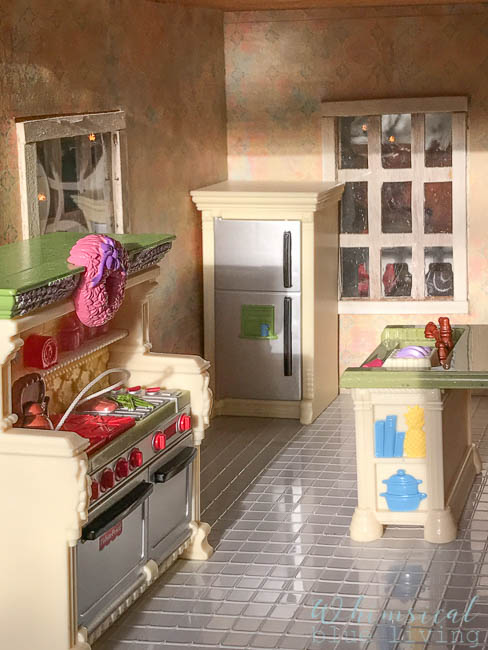
When I bought the $2 dollhouse at the yard sale it came with the flooring for the bathroom and kitchen as well as the furniture for those two rooms, which was so nice. Seriously, I wish I could go back to that yard sale and give them more money! I can’t believe my good luck!
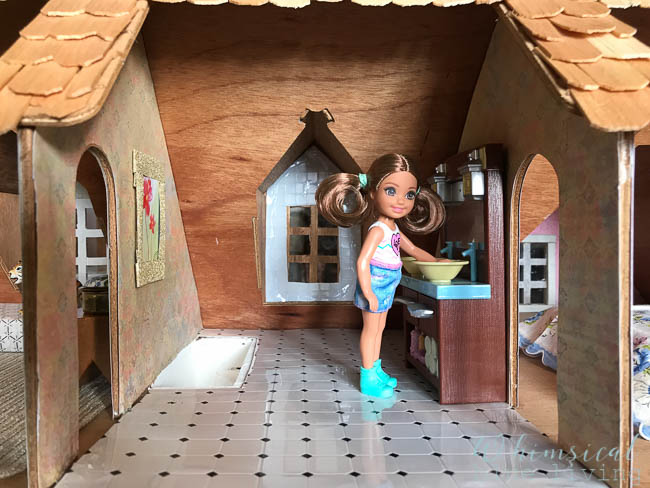
The cute little dolls are part of the “Barbie Club Chelsea” doll series and are the perfect size for the house (they are smaller than a regular Barbie doll).
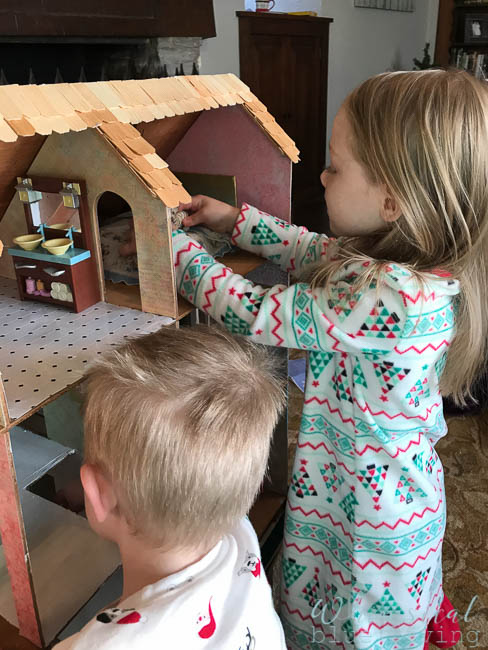
Seeing the joy on my daughter’s face and watching the kiddos play together makes all those late nights worth it! And I truly enjoyed the process of designing this dollhouse for her. I hope that she continues to love it for years to come. Thank you for all your encouragement and excitement during this fun process! I hope you had a wonderful holiday season and wish you the very best in the New Year!
Have a beautiful day!
Sandy
For more inspiration and updates on our home restoration projects, follow Whimsical Blue Living on Facebook, Instagram, and Pinterest. And be sure to sign up for our newsletter to receive an email every Sunday morning with the posts from the week. That way you never miss a post!


Leave a Reply