Hello friends! Thanks so much for your wonderful response to our sunroom makeover! Isn’t it amazing how paint can transform a room? I’m so excited to share more details about my new little office area within our sunroom. It’s such an inspiring place to work and the natural light is a dream for photography projects!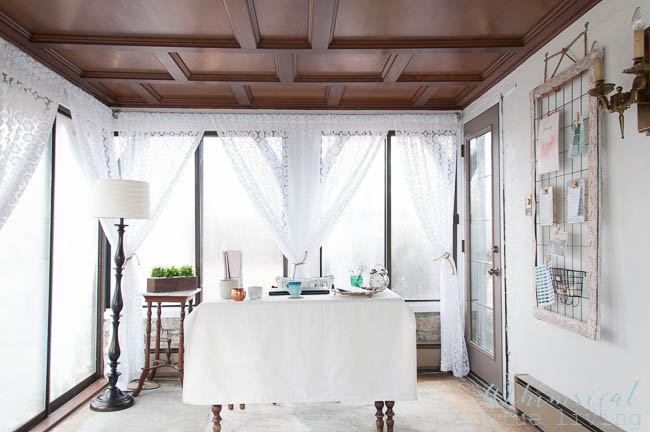
I didn’t originally plan to set up an office in our sunroom. When we bought our house a few years ago at an auction I imagined using what became known as the “Clown Room” as my office/art studio. It already had a desk and everything!
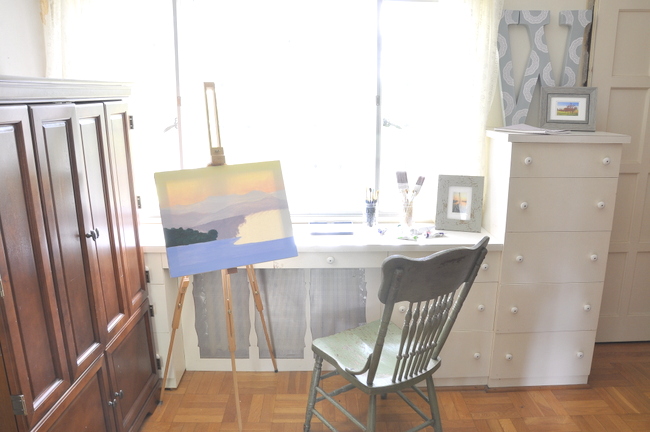
However, we discovered as we worked on our never-ending list of house projects that we needed a place to store all of the furniture and accessories that had to be removed from whatever room(s) were currently under construction. The Clown Room became our default storage room as we worked to restore our 1927 home. The room held a revolving pile of stuff as we moved from one project to the next. We’d finish a project and I’d clear out the Clown Room while declaring to everyone in our home that I was claiming it for my office. Then we would start our next project and fill the room right back up.
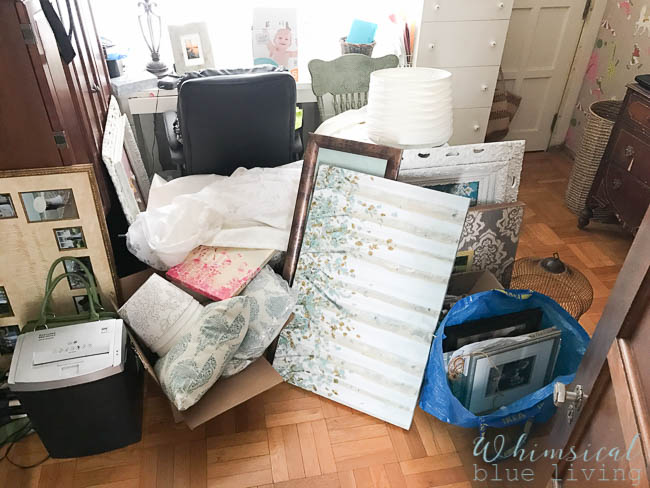
Our office room always ends up holding everything from the rooms that are under construction.
I usually ended up setting up a little office on our kitchen counter. I’d write my blog posts and edit photos while watching the kiddos play. It wasn’t ideal, but it was the best I could do. I would style and photograph my projects while the kids were at school and the babysitter’s house and squeeze in time to work on the blog every free moment I had.
By the last day of my son’s winter holiday break I had run out of patience. Everyone in our house had been sick for weeks. We were all miserable and had been cooped up inside for far too long. I spent the last day of winter “vacation” (not a vacation for parents) dreaming of someday running away to an adorable little beach bungalow where I could enjoy warm weather, peace and quiet, and a full eight hours of uninterrupted sleep. I counted the number of years we had left until our youngest went off to college while searching through realty websites for cute little cottages by the water. You know, because you can never start planning your retirement too early, right? I imagined a sweet little white cottage just tiny enough for me to escape to when I wanted to write. I dreamed of sitting at an old worn wooden desk where I could write and create to my heart’s content while enjoying a spectacular view of the water just outside the windows.
As I rocked my sleeping baby that night it dawned on me that maybe I didn’t have to wait until my kids were grown to have my own little space to escape and create. We were right in the middle of our sunroom makeover and it was turning out even better than I had hoped! In the past we’d really only opened up the sunroom about five times a year when we hosted big groups of friends and families for parties. The other 360 days of the year it had been used for storage. Now the room had a fresh coat of white paint and all I would have to do to separate myself from the rest of the house was close the french doors, plus it had a spectacular view of the river! It just might be the perfect space for me to work!
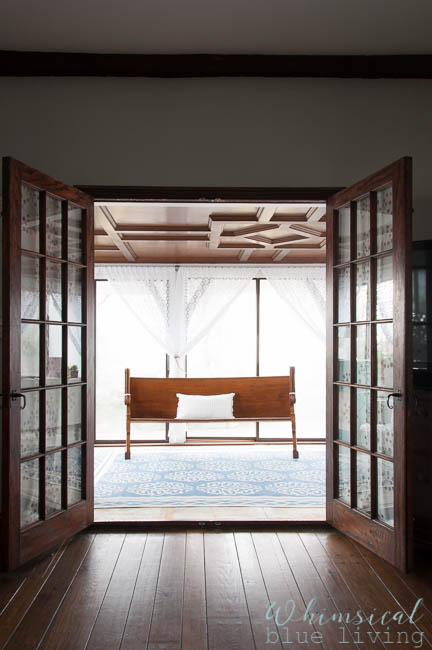
The next day my husband played with the kiddos while I set up my new office area. It was absolutely inspiring! The sunroom was so bright and cheerful and I found that I was able to focus better when I wasn’t surrounded by all the chaos and noise that is life with young children. And when I was done working I simply walked through the french doors back into my role as a stay-at-home mom. It was amazing!
One of my favorite features of my new office area is my command center. We recently took my daughter’s old crib apart in anticipation of converting the rails into a full size bed. I was left with the metal spring support for the crib mattress and I instantly knew it would make a perfect command center. I picked up ribbon at the craft store and used my trusty glue gun to create a cute little area to keep my life more organized. It was so easy to make and I love how it turned out!
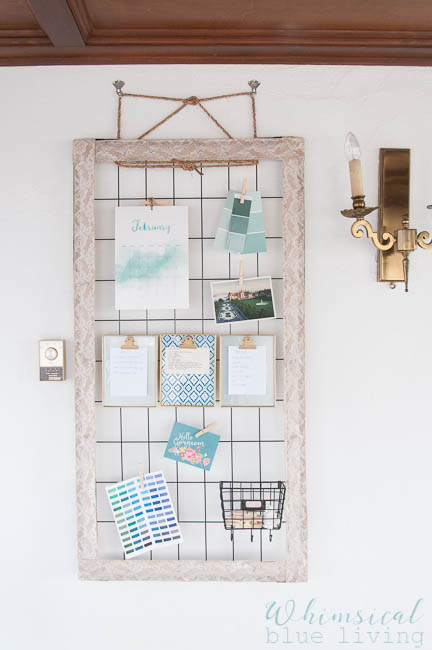
My new DIY command center helps keep me better organized!
Supplies needed
crib spring
tape
glue gun
ribbon
rope or twine
clothespins
hooks for wall
Optional Supplies
basket with hooks on back (I found mine at Hobby Lobby)
calendar (Target Dollar Spot)
clipboard frames (Michaels)
Directions
Step 1: Tape the metal pieces that swivel to the sides of the crib spring frame. I used black electrical tape to blend in better. (See picture below.)
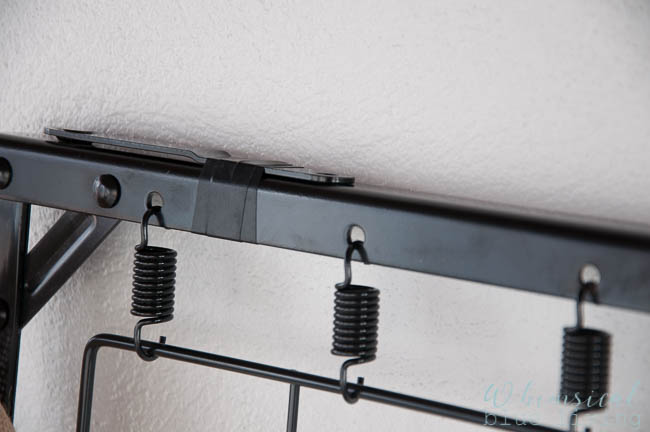
I used black electrical tape to keep the metal piece in place.
Step 2: Following the directions on the glue gun (it’s hot!), glue the ribbon around the border of the crib frame.
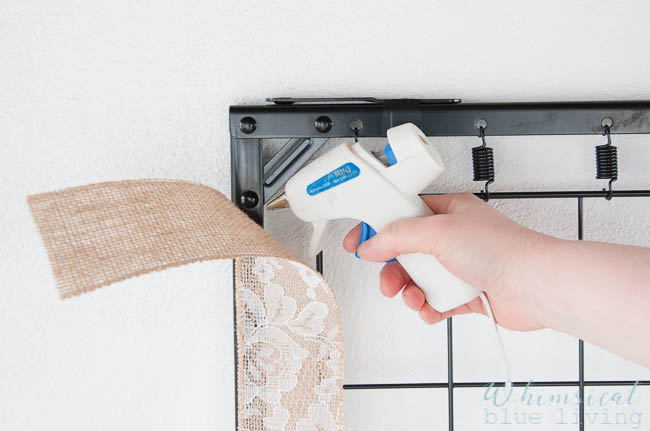
Carefully glue ribbon around the front and side of the metal frame.
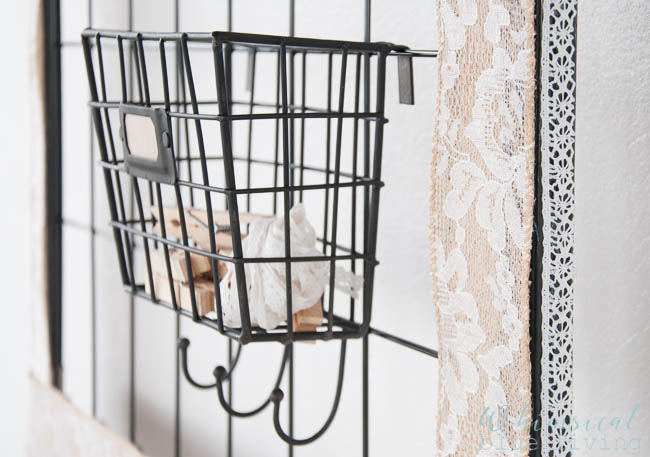
I glued ribbon along the front and sides of the metal frame to add a touch of whimsy!
Step 3: Hang the metal grid on the wall using hooks and rope or twine.
Step 4: Attach calendar, clipboards, and basket to command center. Use clothespins to attach papers and pictures. Enjoy your newly organized space!
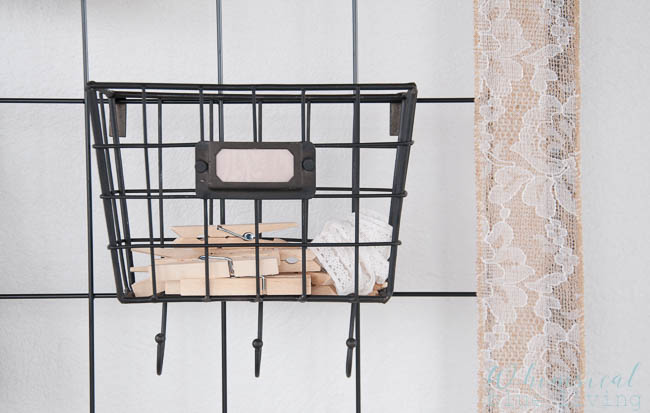
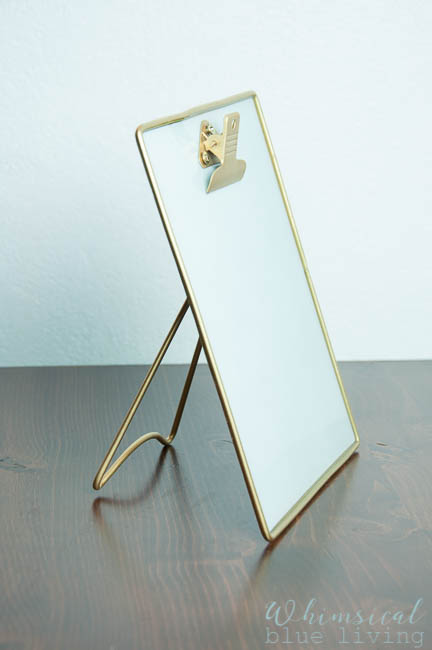
The back of the clipboard picture frame slides over the horizontal row of the metal grid on the command center.
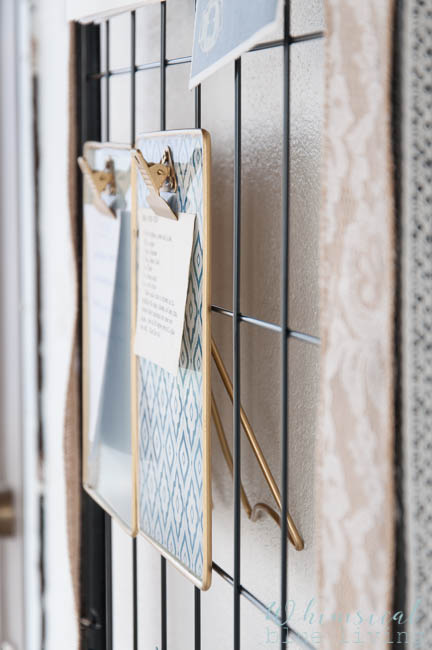
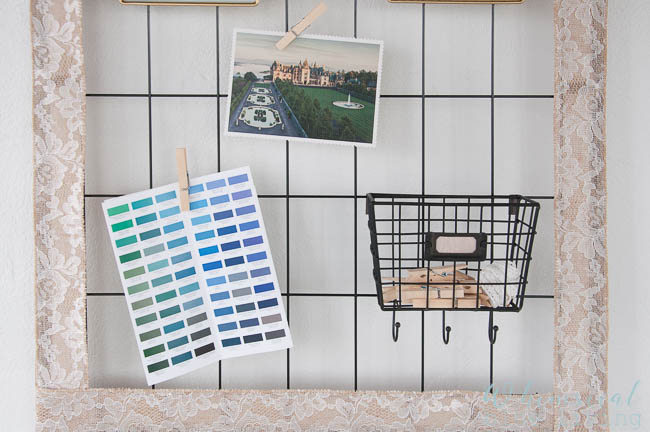
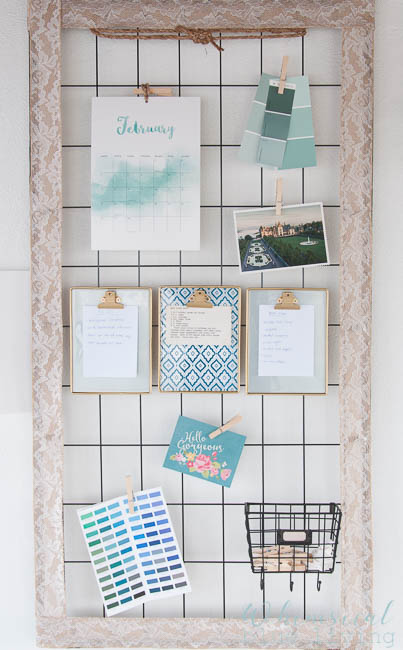
Friends, I LOVE my new command center! The calendar is the perfect size and keeps me up to date on appointments, deadlines, and projects. The clipboard frames are so cute and I love that I can attach my to-do lists and weekly meal plan to them. I keep extra clothespins and ribbon in the little basket. My favorite part is that I can easily rearrange everything on the board as needed. It was such a quick and easy project that keeps my schedule, lists, and inspiration pictures all in one place!
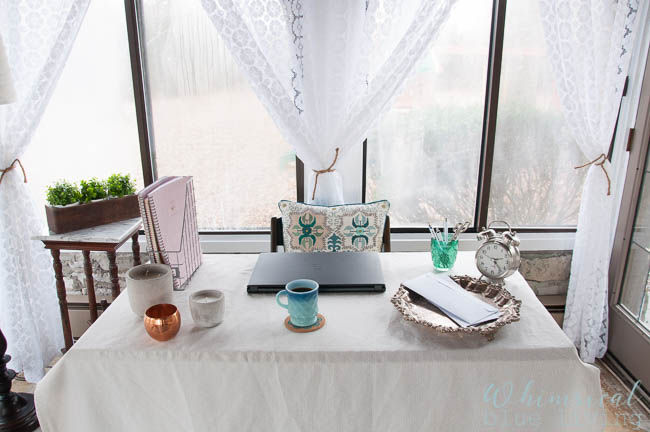
The rest of the office area was just as easy to create. My desk is an old wooden table that belonged to my great-grandparents and the chair is an extra one from our kitchen. The candles are from Target and smell amazing and the copper vase and silver tray are vintage. I love the blue pillow from Pier One and the white lace curtains and tablecloth are both from Target. The marble table is an antique and the wooden box is from the Habitat for Humanity Restore. The blue coffee mug belonged to my husband’s grandparents. The lamp is from Lowes and the lampshade came from Target. When I decided to turn the sunroom into my office I simply walked through the house gathering things to create my inspiring office and photography studio space, which is always how I recommend styling a room. The only new things that I bought specifically to create my office area were the supplies to make the command center and the candles. Everything else I already owned. I love how this office/studio space came together! It’s bright, beautiful, and inspiring and it cost very little to create.
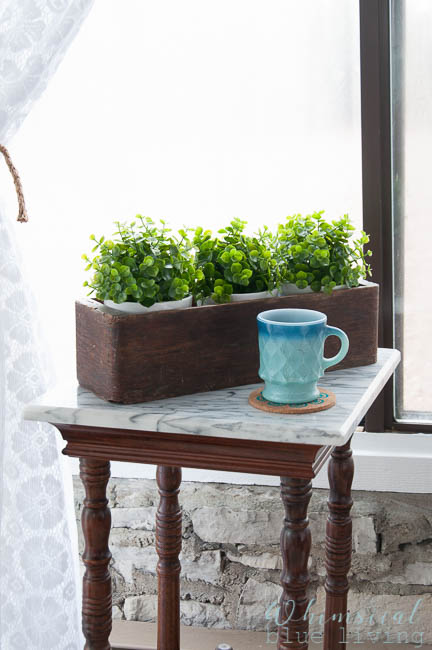
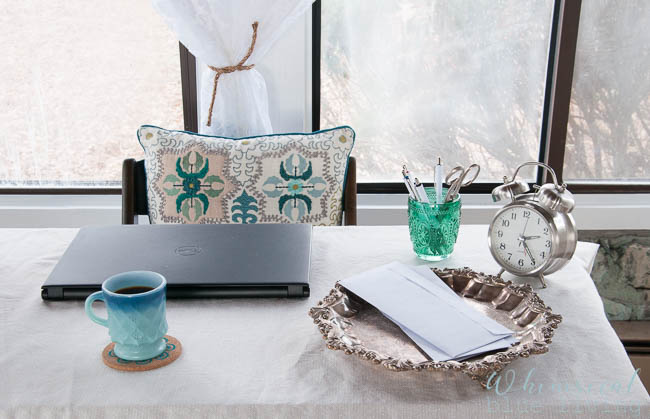
Below is a list of the items that are currently in stores (many of the items listed above were purchased years ago or are vintage, so unfortunately I don’t have links for those).
Crochet patterned curtains (available in blue and white)
Linen lampshade
Large candle
Small candle
Blue patterned pillow
And if you don’t have an extra crib that you can take apart to create a command center similar to mine, I’ve included links to a grid wall organizer that can be purchased in several different sizes and colors.
Happy organizing! Be sure to sign up for our newsletter to receive an email every Sunday morning with the posts from the week, and follow us on Facebook, Instagram, and Pinterest for more inspiration!
Have a beautiful day!
Sandy


I LOVE your command center. And the entire office! We are updating our kitchen and I have been thinking about implementing a command center. I also want to do one in my office. Thank you so much for the ideas and inspiration! And by the way…I love seeing all of your posts because I am a from a small town right near you!
Thanks! That’s so awesome! Your blog is great, by the way. I can’t wait to read more!