Hello friends! When we first moved into our house the previous owners left a mantel in the master bedroom. It wasn’t old or original, and my guess is that they used it for an electric fireplace insert. I personally prefer either old chippy painted mantels or ornate Victorian ones, so this light wood mantel with a 1990’s design on the front didn’t thrill my soul. We stored it in the basement while we worked on other house projects. I tend to hold onto things for a little while to see if I can come up with an idea for them, but nothing was inspiring me for the mantel, so I decided to sell it. 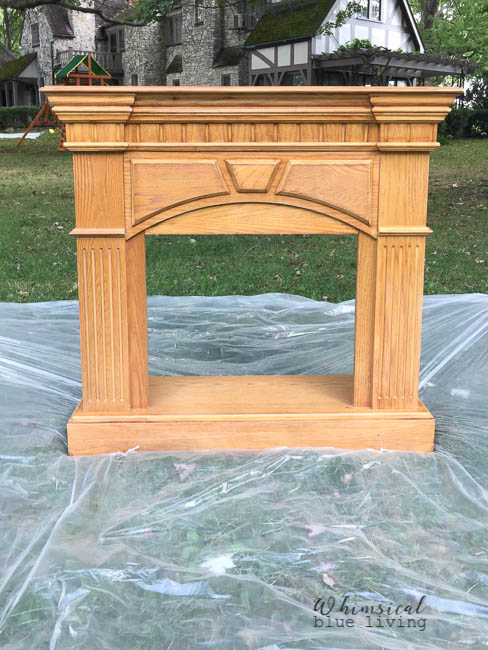
We put it in a yard sale at a friend’s house but it did not sell. I didn’t want to lug it all the way down to the basement again, so we stuck it in the sunroom and at our next birthday party I used it as a little drink station. The sunroom has heaters around the baseboards so there was a big gap between the wall and the back of the mantel, which drove me a little bit crazy. I just left the mantel in the sunroom where it was out of the way until I could get around to selling it on Craigslist.
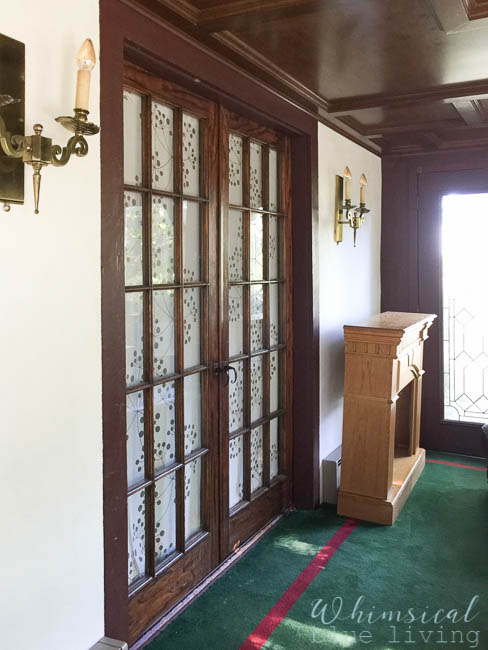
Notice the gap of space between the mantel and the wall because of the heater at the baseboard.
As I started dreaming of a sunroom makeover this past fall (before my sunroom budget went to fix the living room) it occurred to me that maybe the mantel could be cute if painted. I was inspired by a picture I saw on a friend’s Instagram account of the mantel at the Magnolia store in Texas. If Joanna Gaines could put a painted mantel on a wall without an actual fireplace, I bet I could make mine look cute in the sunroom. And if painting it didn’t work like I’d hoped, I could just get rid of it. No big deal. Sometimes it’s nice to experiment with pieces that aren’t vintage, irreplaceable, or very sentimental. It takes the pressure off and allows you to just have fun and try something new!
One warm and sunny fall day I asked my husband to help me drag the mantel outside so I could paint it. I considered using chalk paint, but the thought of painting and waxing all the little details on the mantel didn’t sound like fun. So I opted for spray paint. After a light sanding and a quick wipe down with a cloth, I was ready to go. Always read and follow the instructions on the can of spray paint. Especially, pay attention to drying times so you know how long to wait in between coats of paint. I was working on several projects that day and all the cans of spray paint had different recommended drying times, so always read the instructions carefully.
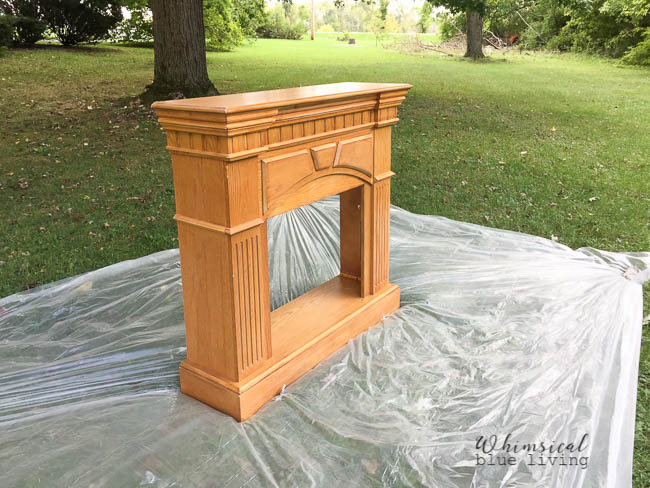
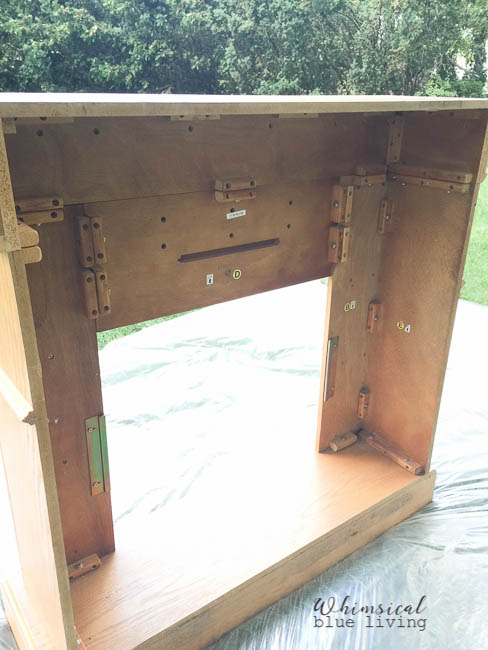
I could tell the mantel wasn’t very old by looking at how it was constructed and assembled.
First I sprayed Valspar’s Project Perfect Primer in “Gray” on the wood. I choose gray primer instead of white because it was closer in color to the green, therefore requiring fewer coats of the green spray paint. I actually really liked the gray once it had dried and I considered leaving it this color, but decided to be bold and paint the mantel a brighter color. After all, it was just paint. If I really hated how it turned out I could always paint it gray again. When you’re not in love with an item to begin with, the thought of painting it and still not liking it is really not a big deal.
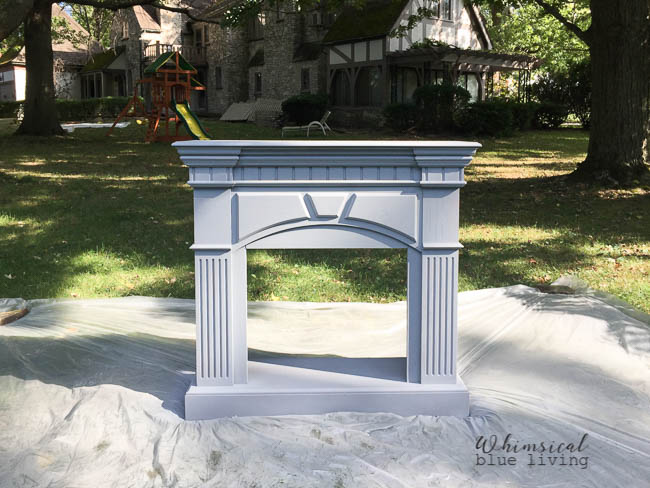
First I spray painted primer onto the mantel.
Next I spray painted the mantel Valspar’s Color Radiance in “Moonlit Surf” which is a lovely greenish blue color. The directions on the can said to spray multiple thin coats to avoid streaks and drips in the paint. The first coat did not look fantastic and I was a little nervous, but as I added more layers of paint it covered the primer evenly.
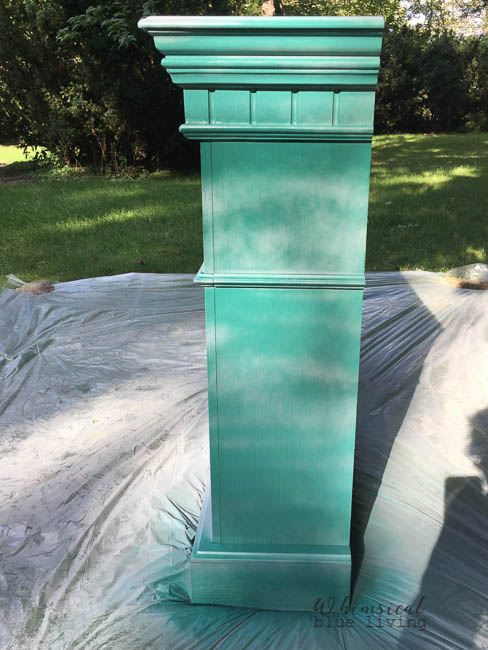
The first layer of green spray paint. Notice that the coverage is not even and the gray primer is still visible in spots. This is normal. It is better to spray several light coats of paint to achieve even coverage and avoid drips.
I had thought the paint would be a darker green and not quite so bright and beachy looking, but I still liked it. So I figured I’d leave it green and if I didn’t love it after a little while I’d paint it a different color.
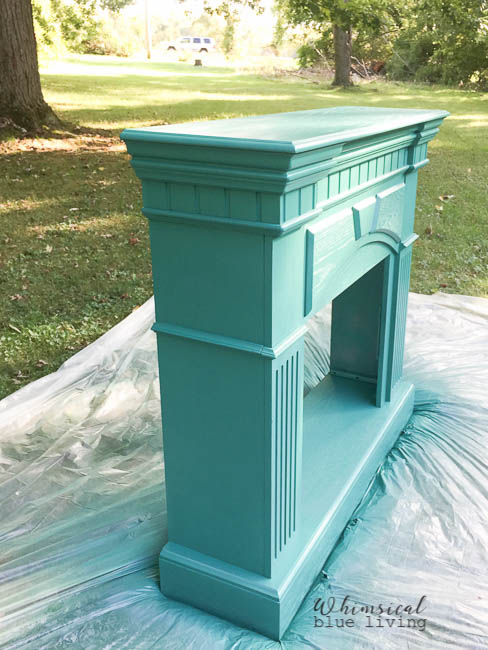
The mantel after the final layer of spray paint.
After the mantel dried we put it back in the sunroom. Friends, it did not look fantastic with the dark red trim. I’d been hoping that making the mantel pretty would distract me from all the ugly stuff around it that I wanted to change. But in this situation all it did was highlight the difference between my personal style and the dark and dated sunroom. So I did what I’d been doing the whole time we’ve lived in this house. I closed the french doors and pretended like the sunroom didn’t exist. After all, it just wasn’t in the budget to replace the things I didn’t like such as the sliding doors and windows, and install brick pavers. We’d just have to wait until we finished some other big house projects and had more money in the renovation budget. I decided I would repaint the mantel a different color when the weather warmed up in the spring.
One winter day over the kiddos’ Christmas break I was hiding in the sunroom. I needed a few minutes to escape from the noise and chaos that happens when all the kiddos are home for days at a time. My husband was happily playing with them while I stood in the sunroom and thought about how to organize our upcoming New Year’s Eve party. After taking about three seconds to determine that we should put the tables in the exact same places that we always put them during parties, I started dreaming about what the sunroom would look like someday after our renovation. It occurred to me that I could take my own advice that I always give people and do the renovation in stages, just like we’ve done with the rest of the house. We were planning to paint it when we remodeled, so why not start with that part now? It’s not like it would cost us more money. We could either paint it later when we did the rest of the project or paint it now and enjoy the change. So we painted!
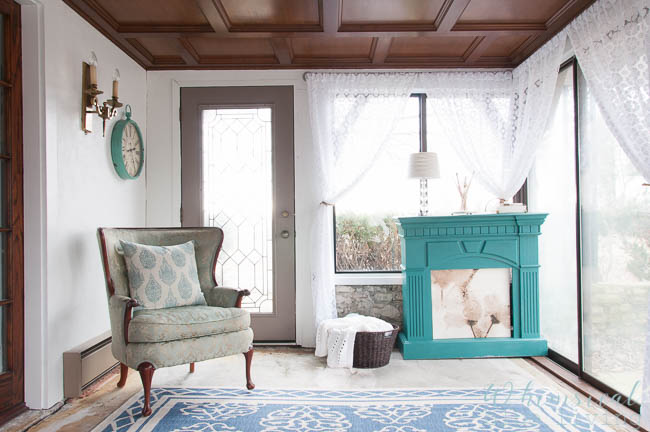
It’s funny, the mantel that before felt too bright and beachy now looked amazing in the newly painted sunroom! I was thrilled to discover that it fit perfectly over the air conditioning unit in the corner, so the mantel no longer sticks out a few inches from the wall. A flower picture covers the opening when we aren’t using the air conditioner, and the mantel looks so bright and pretty in the corner of our sunroom!
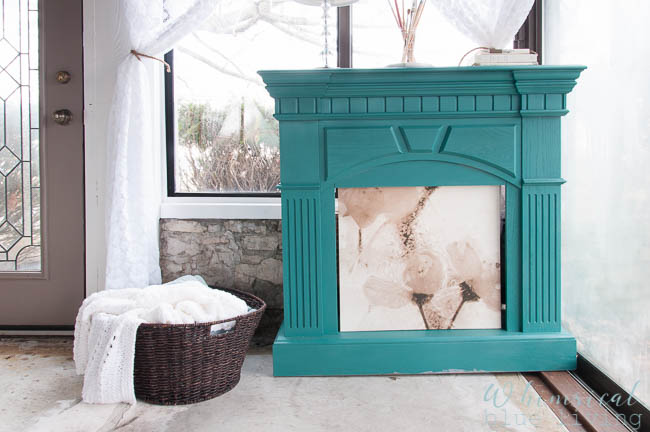
Our bright and colorful mantel is so pretty in our white sunroom, and I love how it hides the air conditioning unit!
I’m so glad that no one bought the mantel at the yard sale and that I didn’t have time to repaint it a darker color before the weather turned cold. Sometimes projects that feel like failures at first turn out to be some of my favorite features of a room! So friends, give yourself time to let ideas inspire you, don’t rush projects when you feel stuck, and be willing to take a few chances! Sometimes it works out even better than you dreamed!
Be sure to follow Whimsical Blue Living on Facebook, Instagram, and Pinterest for even more inspiration! Also, if you sign up for our newsletter we’ll email you every Sunday morning with the posts from the week. That way you never miss a post!
Have a beautiful day!
Sandy


Leave a Reply