Growing up, I can remember watching the painter Bob Ross on TV. I was fascinated by the process he would use to paint landscapes. He would layer the paint in such a way that I never quite knew how the painting was going to turn out. Every single time I watched him paint I always felt a slight feeling of panic right in the middle of his process. I would think to myself, “Oh no, he made a mistake! That’s not going to look good. It’s ruined!” But every time, the picture would turn out beautifully!
As a teenager in my high school art class I always had the same experience. Without fail, there would be a moment during the creative process where I would think, “This is a disaster. I’ve ruined it. I should just quit.” But I forced myself to push through the frustration, and almost every time, my project would turn out wonderfully. And if by the end my art wasn’t exactly wonderful, I just reminded myself that I had learned something during the creative process. I developed a habit of not worrying too much if things seemed discouraging in the middle of the process. If I had let myself quit at the first feeling of failure, I would have never finished a single project!
Fast forward to life in a fixer upper. There is a moment in every project where I look around and think, “Oh no! Have we ruined it? Can this possibly work out?” Sometimes it’s just a fleeting moment of doubt that I can push through and stay the course. Other times it requires some tweaking to my original plan. Either way, I’ve learned not to fear that moment of questioning. Some really creative and beautiful design elements have come from those moments of doubt.
The Clown Room was especially challenging for me. I didn’t have a vision for the space and the timing of the project was not great. I had just started a long-term substitute teaching job, so I was really busy and my daily schedule wasn’t as flexible. Our renovation budget had taken a big hit last year with our unexpected plumbing issues, so I literally was trying to repair the room while spending next to nothing. We had spent a year restoring the cute little green room for our daughter, only to have to move her out of it so that our toddler could have a more child-proofed space (and everyone could sleep at night). That left the Clown Room for our daughter, and it was a mess! You can read more about it here and here. Needless to say, I was grumpy. But I decided to just do something to the room, as I really couldn’t make it much worse. If I didn’t like the changes, I could always work on it more in the future.
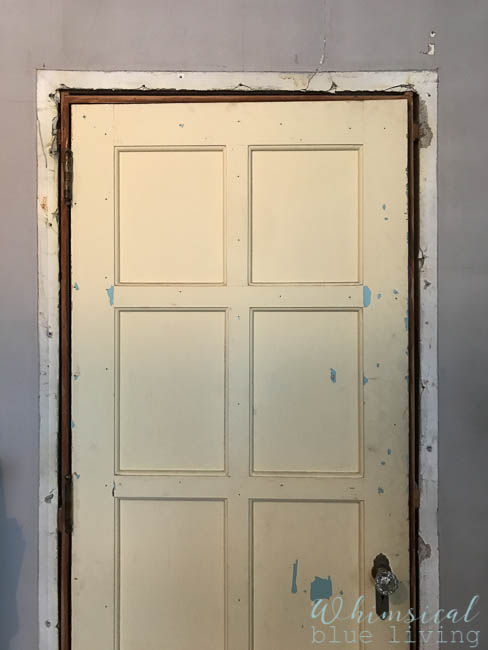
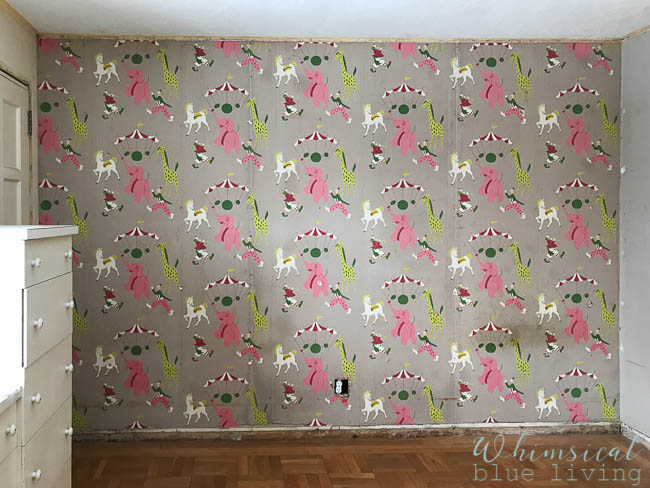
The Clown Room was in rough shape!
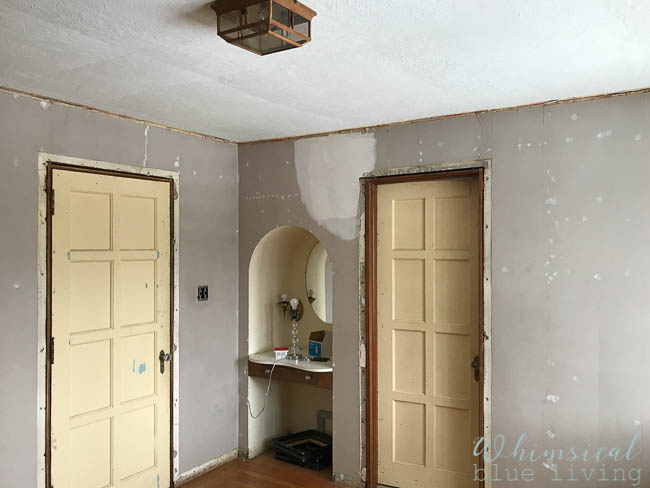
I have strong feelings about preserving original and vintage details in old houses, but the clowns were really testing my resolve. The circus wallpaper, while not the original wallpaper in our 1927 home, was still vintage, unique, and whimsical. The clowns, however, were kind of creepy to look at closely. My original plan was to follow the instructions on Miss Mustard Seed’s blog and cover the wall with fabric and starch, basically creating a removable wallpaper. I even had some pretty floral fabric left over from another project that I could use! But I decided to wait until I had finished the rest of the room before deciding if I should cover the wall with fabric.
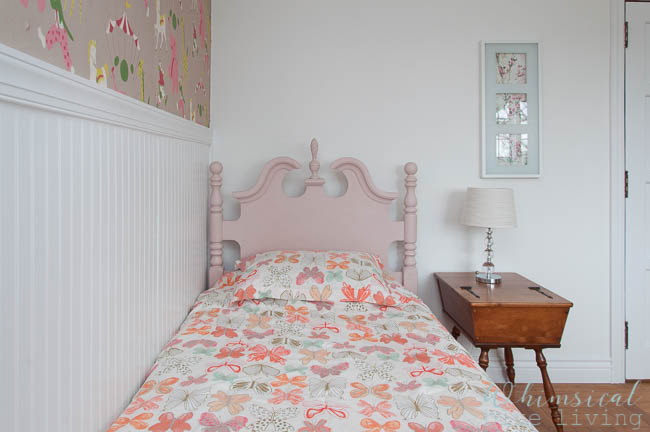
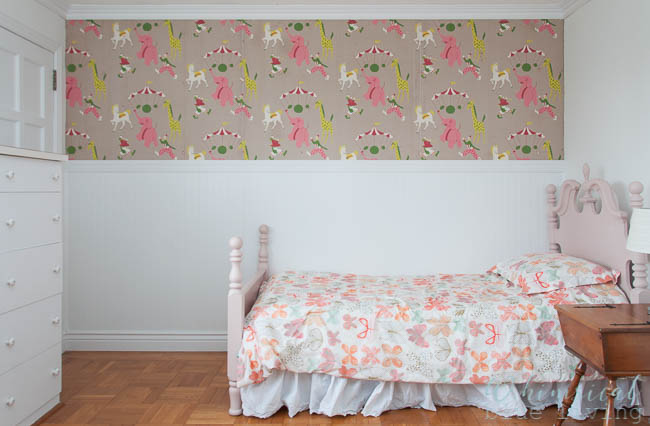
When we moved all the furniture out of the room, we discovered that the circus wallpaper was in rough shape on the bottom half. There were giant scuff marks and some water damage. So, we decided to cover the bottom half of the wall with bright white bead board!
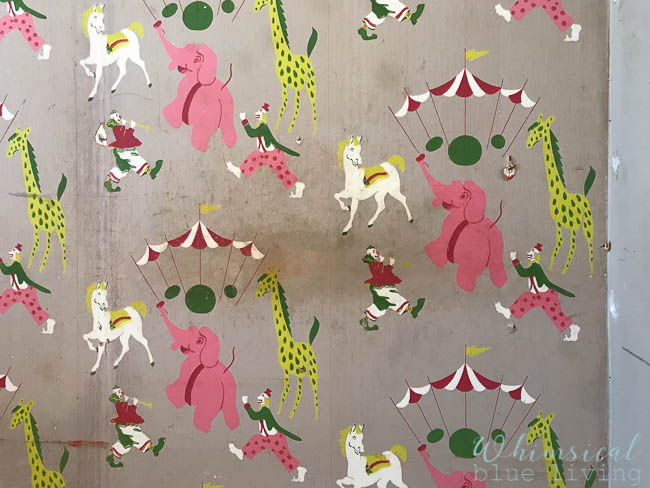
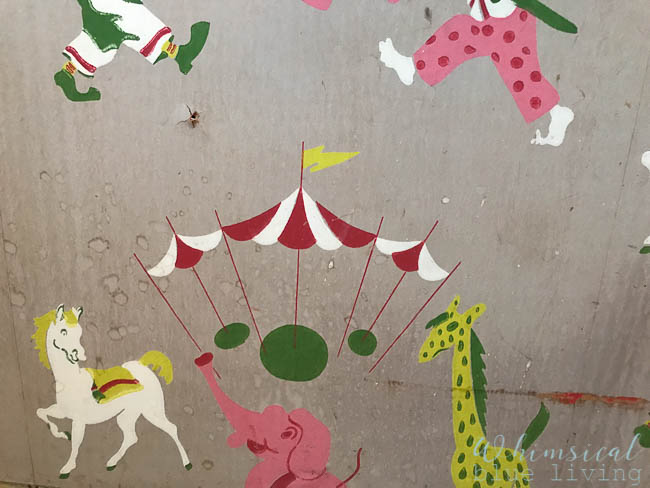
We added trim around the baseboards and door frames (the room had skinny 1950’s trim when we bought the house), and crown molding around the ceiling. I really debated about painting the walls white. I love color, and I was worried that a white room and desk would be too plain. But with the colorful circus wall, the gorgeous view out of the window, plus all of my daughter’s pink and purple things, I decided to try a very neutral background. I primed and painted the other three walls the same bright white color that we had used in the sunroom (Sherwin Williams “Pure White”), but it wasn’t until I painted the ceiling a fresh clean white that I knew I would keep the wallpaper!
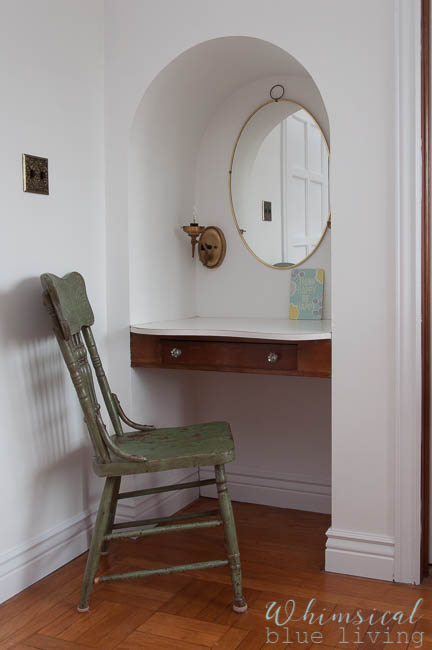
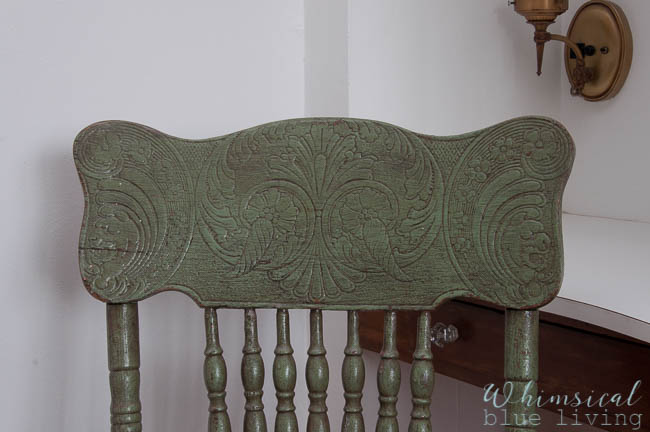
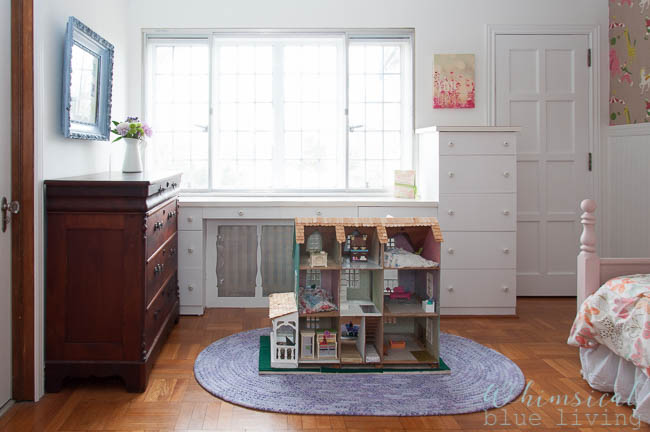
I filled the room with sentimental pieces, like the vintage green chair that had belonged to my Grandma K and a little end table from my Grandma B that makes the cutest nightstand.
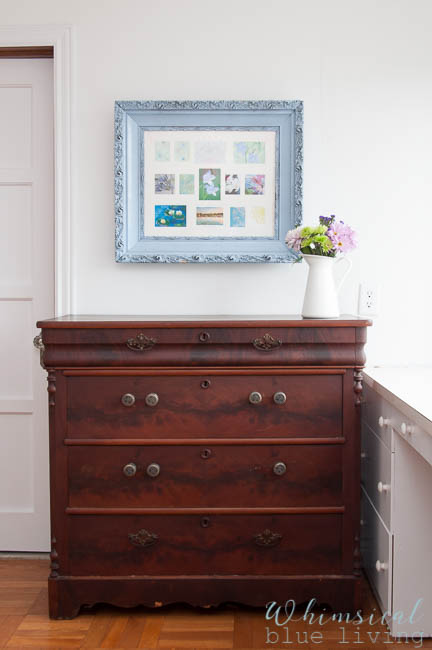
I had painted an old frame that I found in my Grandma K’s attic a purpleish-blue color and filled it with pictures that inspired me as well as some floral paintings I had done over the years. I had been saving the framed art for a little while, just waiting for the perfect spot to display my collage. My daughter was so excited when I hung it in her room!
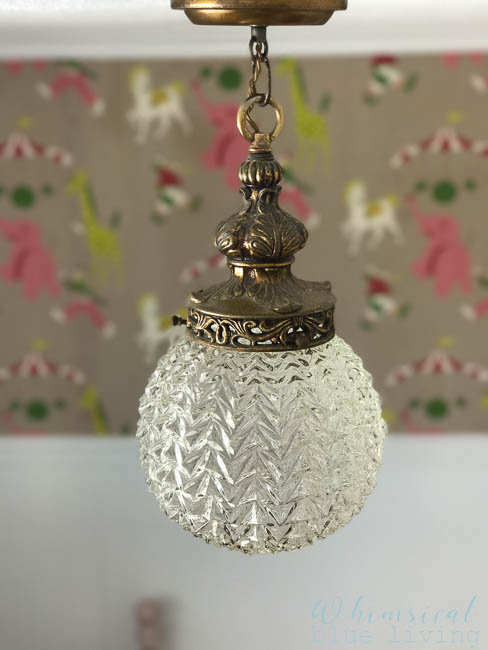
One of my favorite things to change in any room is the lighting. It’s an instant way to transform the look of a room! The light that was in the room when we bought the house had amber colored glass that made the whole room look dirty. In an effort to save money, I searched through my stash of vintage treasures and realized that I had a beautiful ornate brass light fixture that had belonged to my Grandma K. I ordered a vintage glass globe from eBay, and the end result is a fun and sparkly light that has special sentimental value!
Friends, it’s amazing how fresh paint, a pretty light, and many late nights of hard work can completely transform a room! The Clown Room went from being my least favorite room to the brightest, happiest spot in our house. My daughter absolutely loves it, and I’m honestly in shock with how cute it looks! I’m so glad I didn’t give up! For the full room reveal, read here.
For more inspiration and to follow along on our old house journey, check out Whimsical Blue Living on Facebook, Instagram, and Pinterest. And be sure to sign up for our newsletter to receive an email every Sunday morning with the posts from the week. That way you never miss a post!
Have a beautiful day!
Sandy


Leave a Reply